Visual Config App
GridForge includes a Streamlit app for building the same grid YAML file that can also be written by hand. The app is useful when you want to inspect a base case, add custom sheets, preview generated tables, and save a configuration without editing every YAML block manually.
The visual app covers the static grid-construction stage. Bus-data assignment is still handled by the assignment YAML and Python helpers described in Bus Data Assignment.
Install App Dependencies
If GridForge is installed from a local checkout, install the app extra:
pip install -e ".[app]"
For the app plus optional plotting dependencies:
pip install -e ".[full]"
If GridForge is installed from GitHub, include the app extra in the package specifier:
pip install "gridforge[app] @ git+https://github.com/xuwkk/gridforge.git"
Launch
After installation, run:
gridforge-app
From a source checkout, this command is equivalent to:
streamlit run gridforge/config_app.py
Streamlit prints a local URL in the terminal, such as
http://localhost:8501. Open that URL in a browser.
If the port is already in use, kill or choose another one.
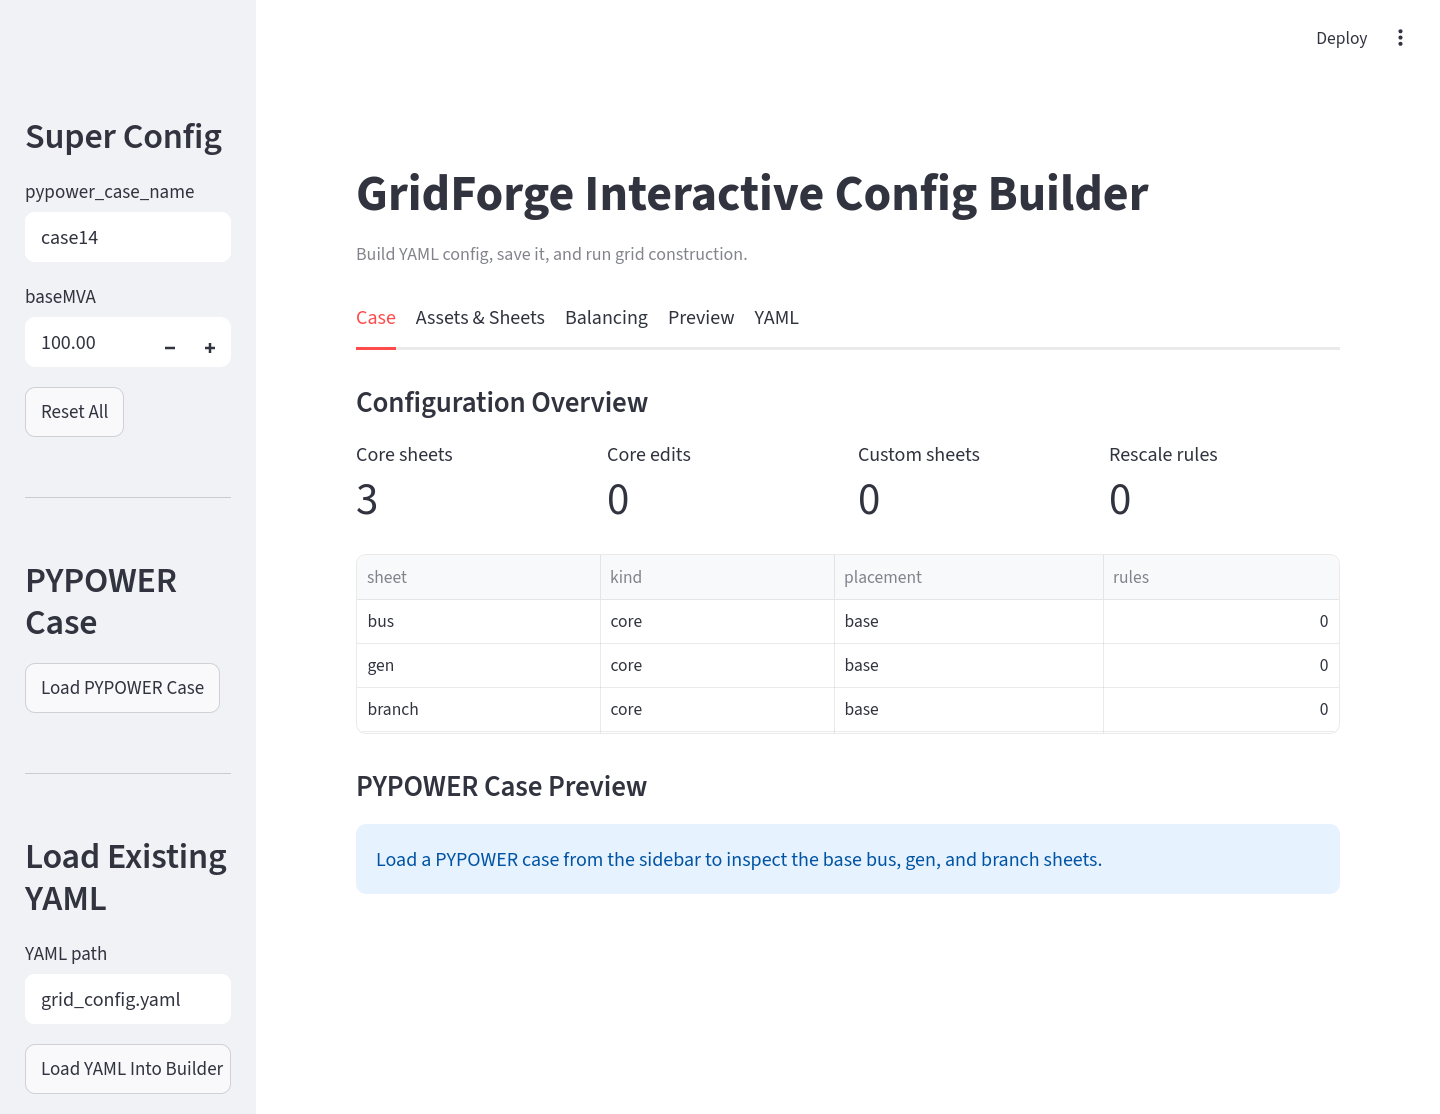
What The App Builds
The app helps author the grid YAML used by construct_grid_config(...).
Through the app, you can:
- choose a built-in PYPOWER case such as
case14, - point to a local PYPOWER
.pycase or MATPOWER.mcase, - edit the top-level grid settings such as
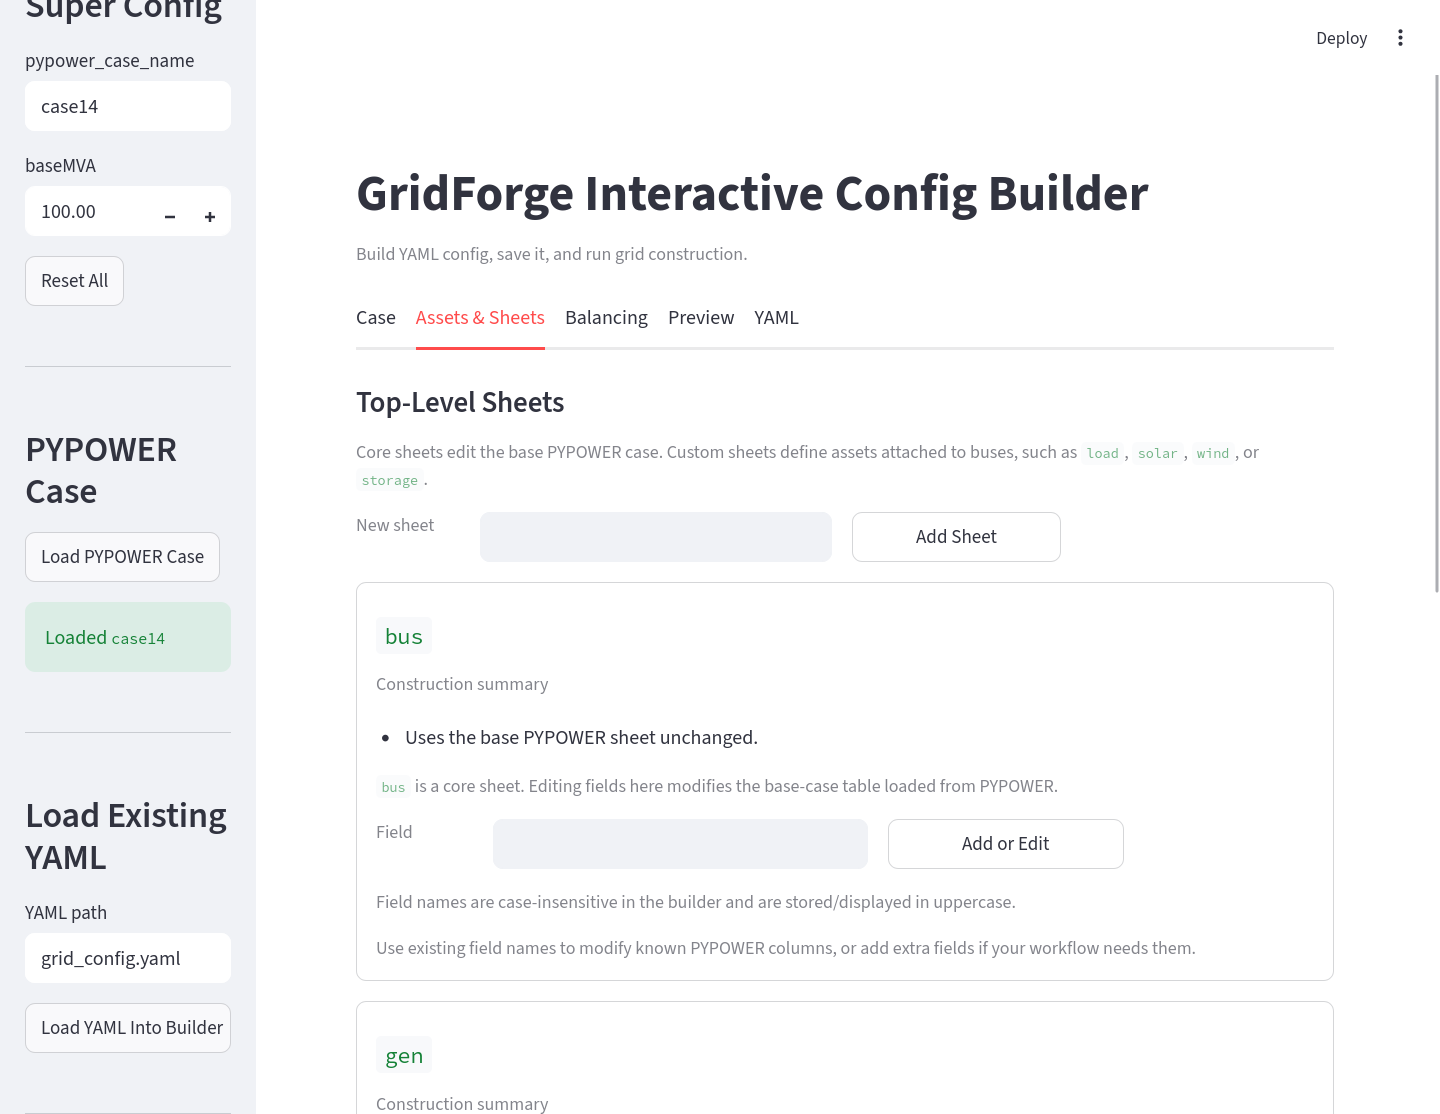
baseMVA, - add or modify core sheets such as
bus,gen, andbranch, - create custom bus-attached sheets such as
load,solar,wind, orstorage, - define
BUS_IDXplacement rules for custom sheets, - set absolute values or relative values based on another sheet,
- add rescale rules to match totals across sheets,
- preview the resulting workbook sheets before saving.
The output is a normal GridForge YAML file. You can commit it, edit it by hand, or pass it directly to:
from gridforge.construct import construct_grid_config

construct_grid_config(
    "examples/14bus_uc/14bus_config.yaml",
    "examples/14bus_uc/14bus_config.xlsx",
)
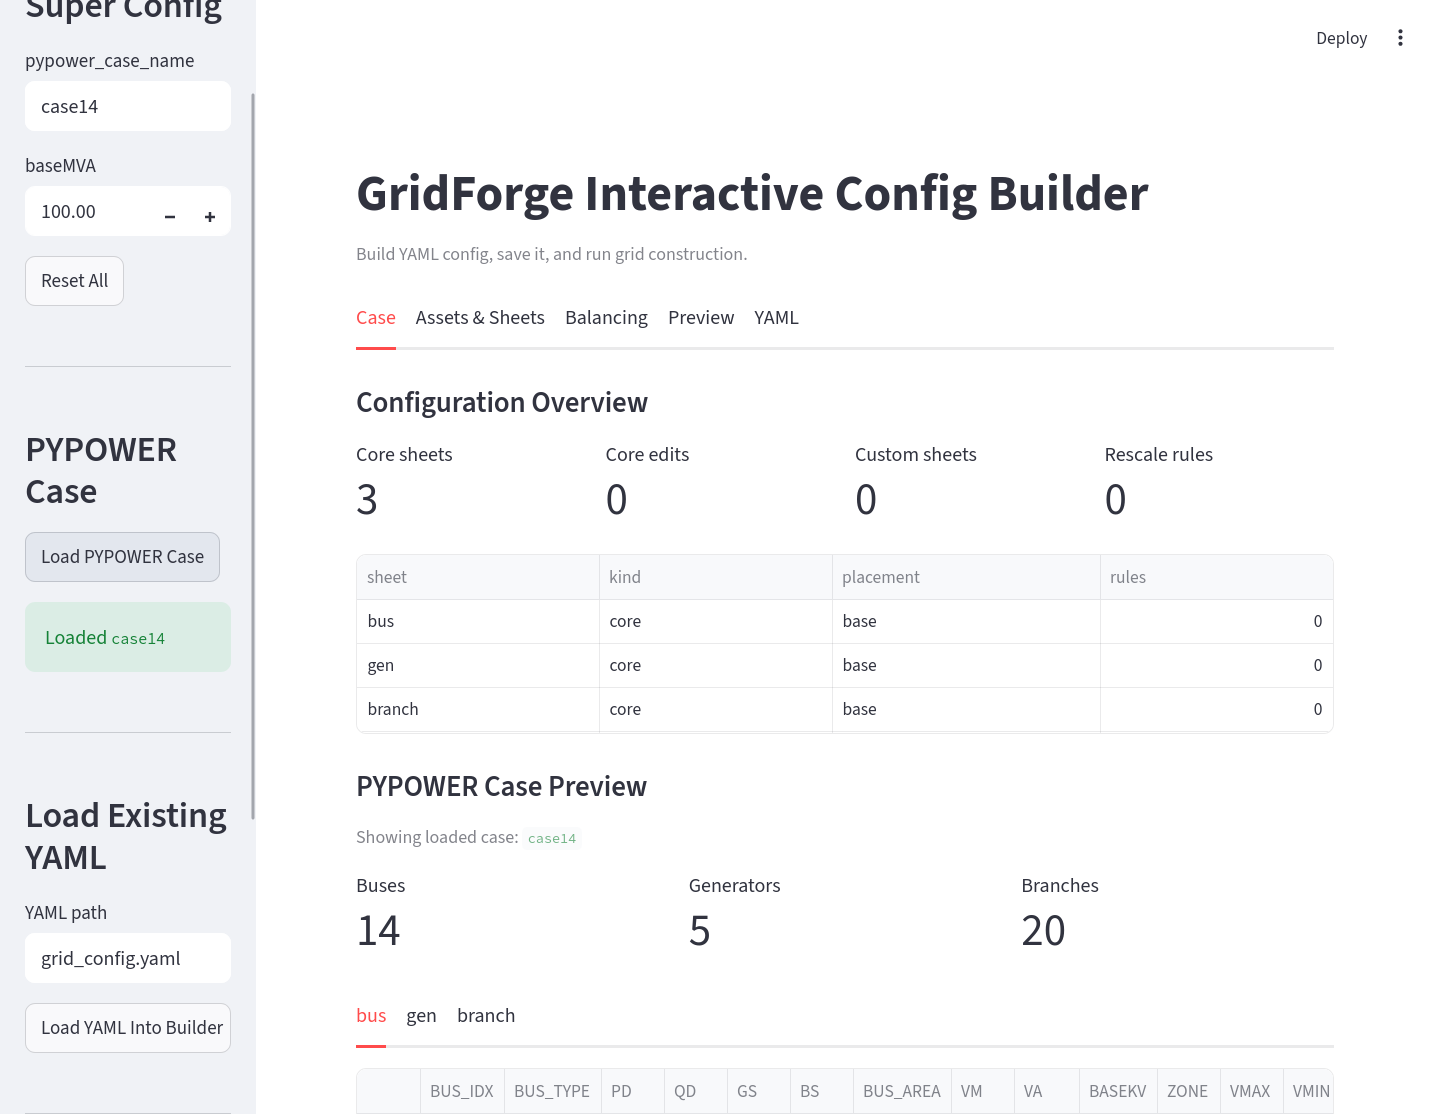
Preview The Base Case
Use Load PYPOWER Case to inspect the selected base case before adding custom rules. This helps confirm the number of buses, generators, and branches that the YAML will modify.
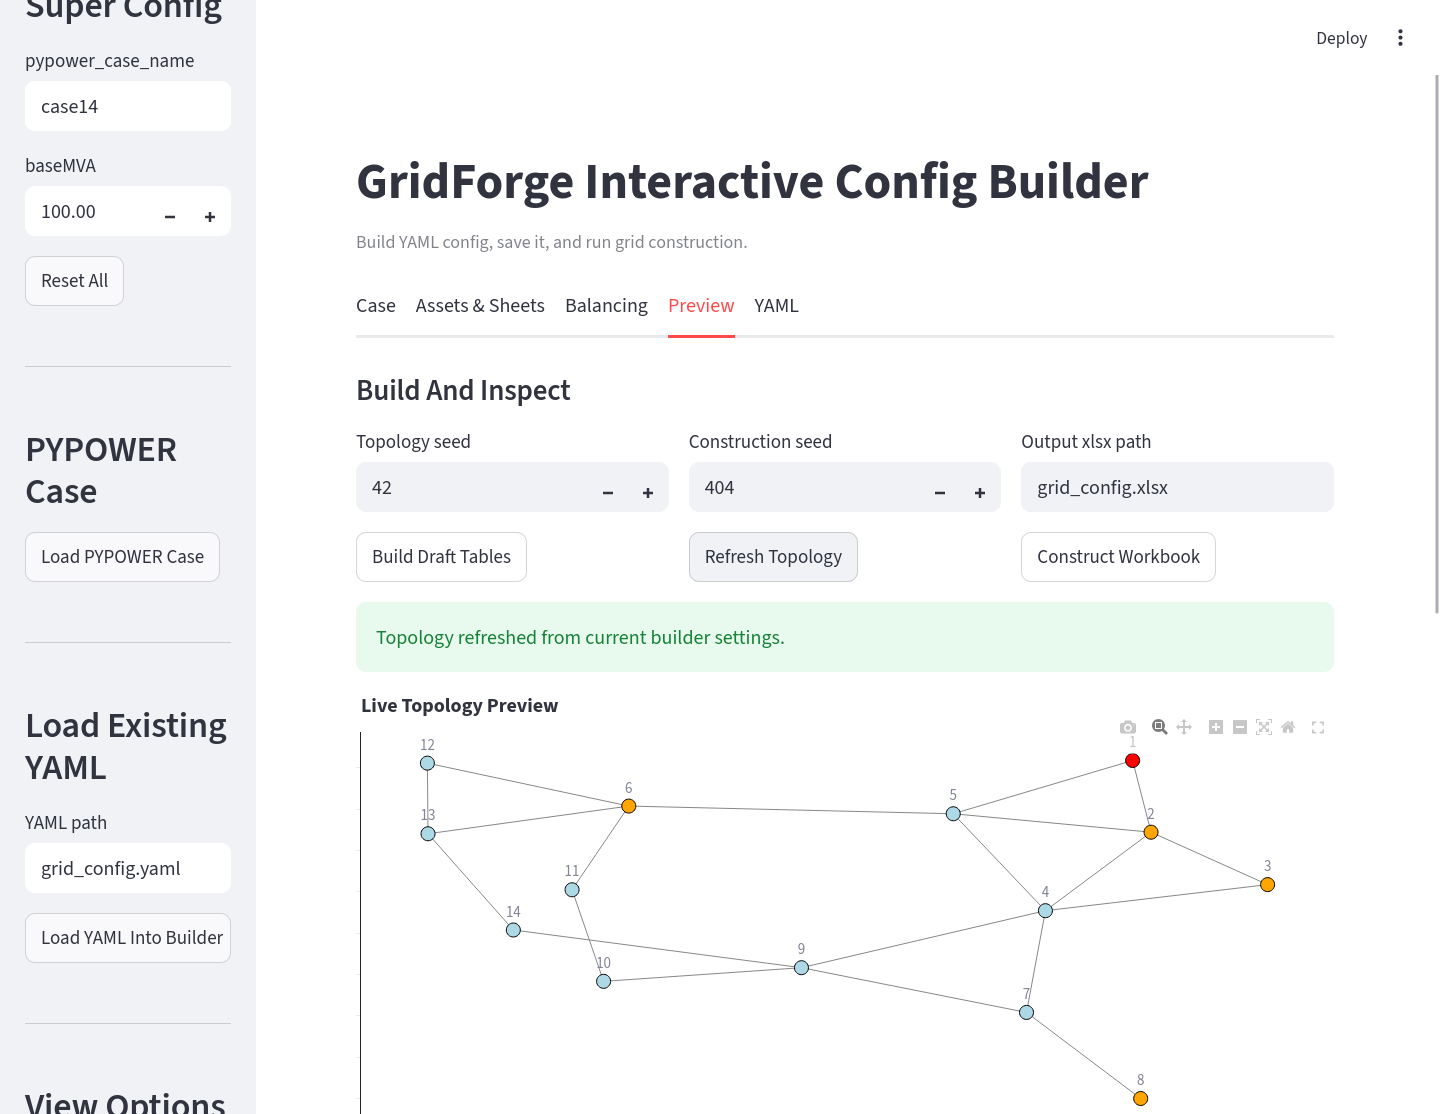
Preview The Generated Workbook
Use Build Draft Tables to preview the workbook sheets generated from the current builder state without writing the final Excel file.
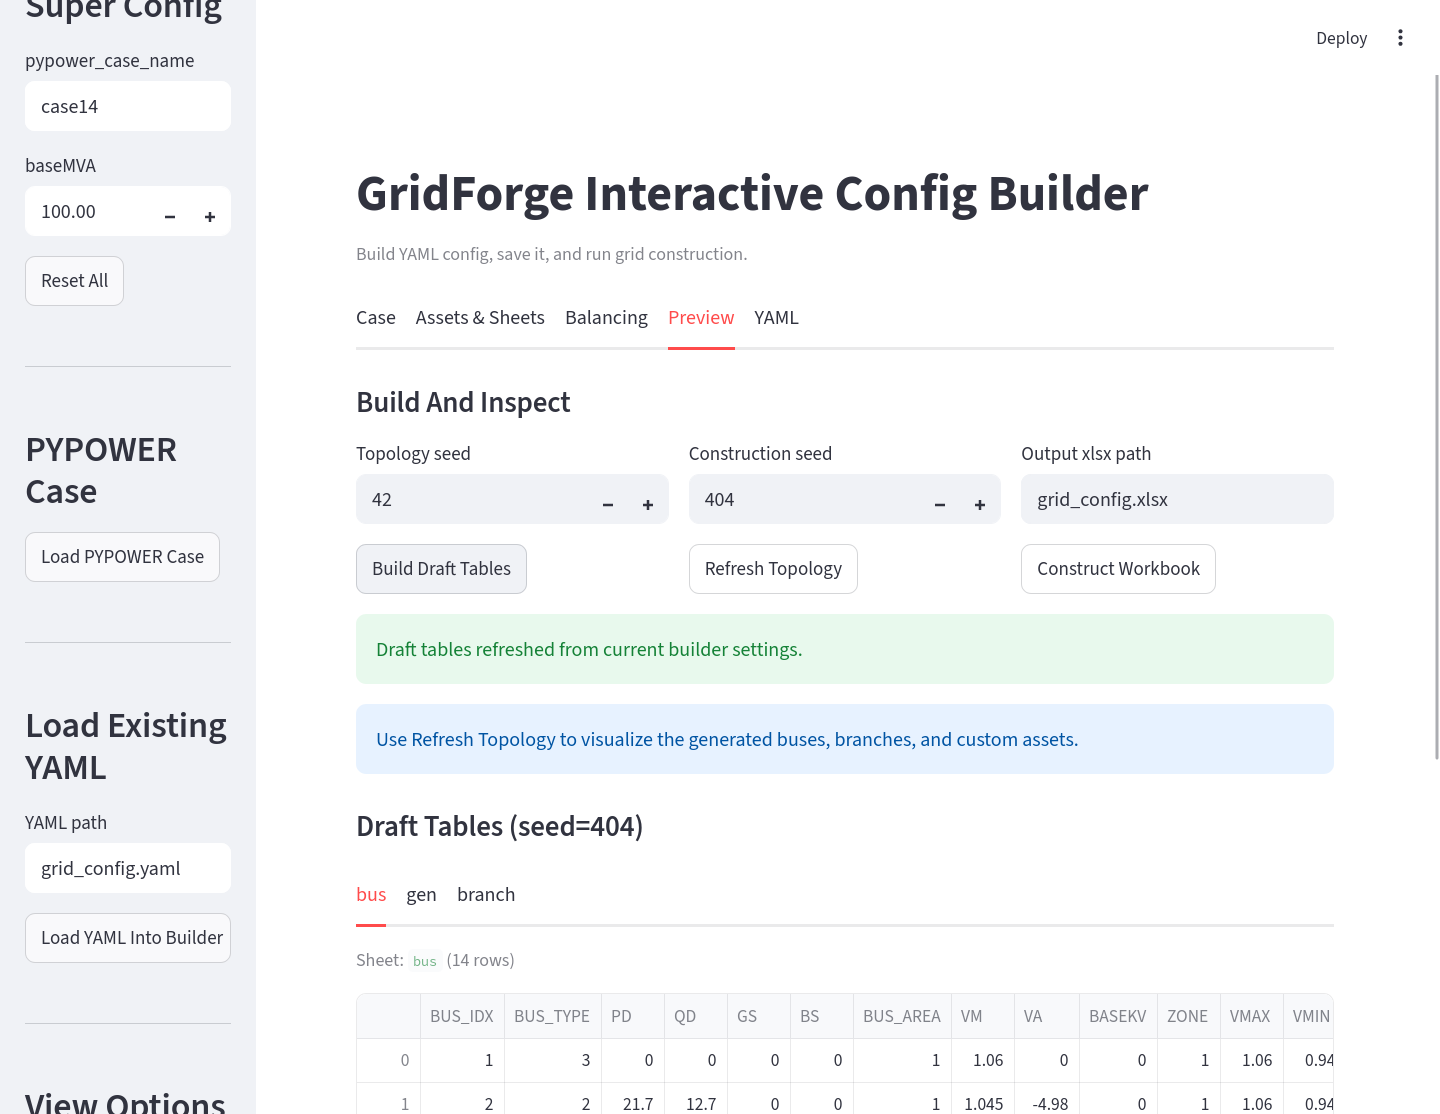
Use Refresh Topology to render an interactive network view of the generated buses and branches. Bus colors distinguish the bus types from the base case, and the hover text reports any custom assets attached to a bus.
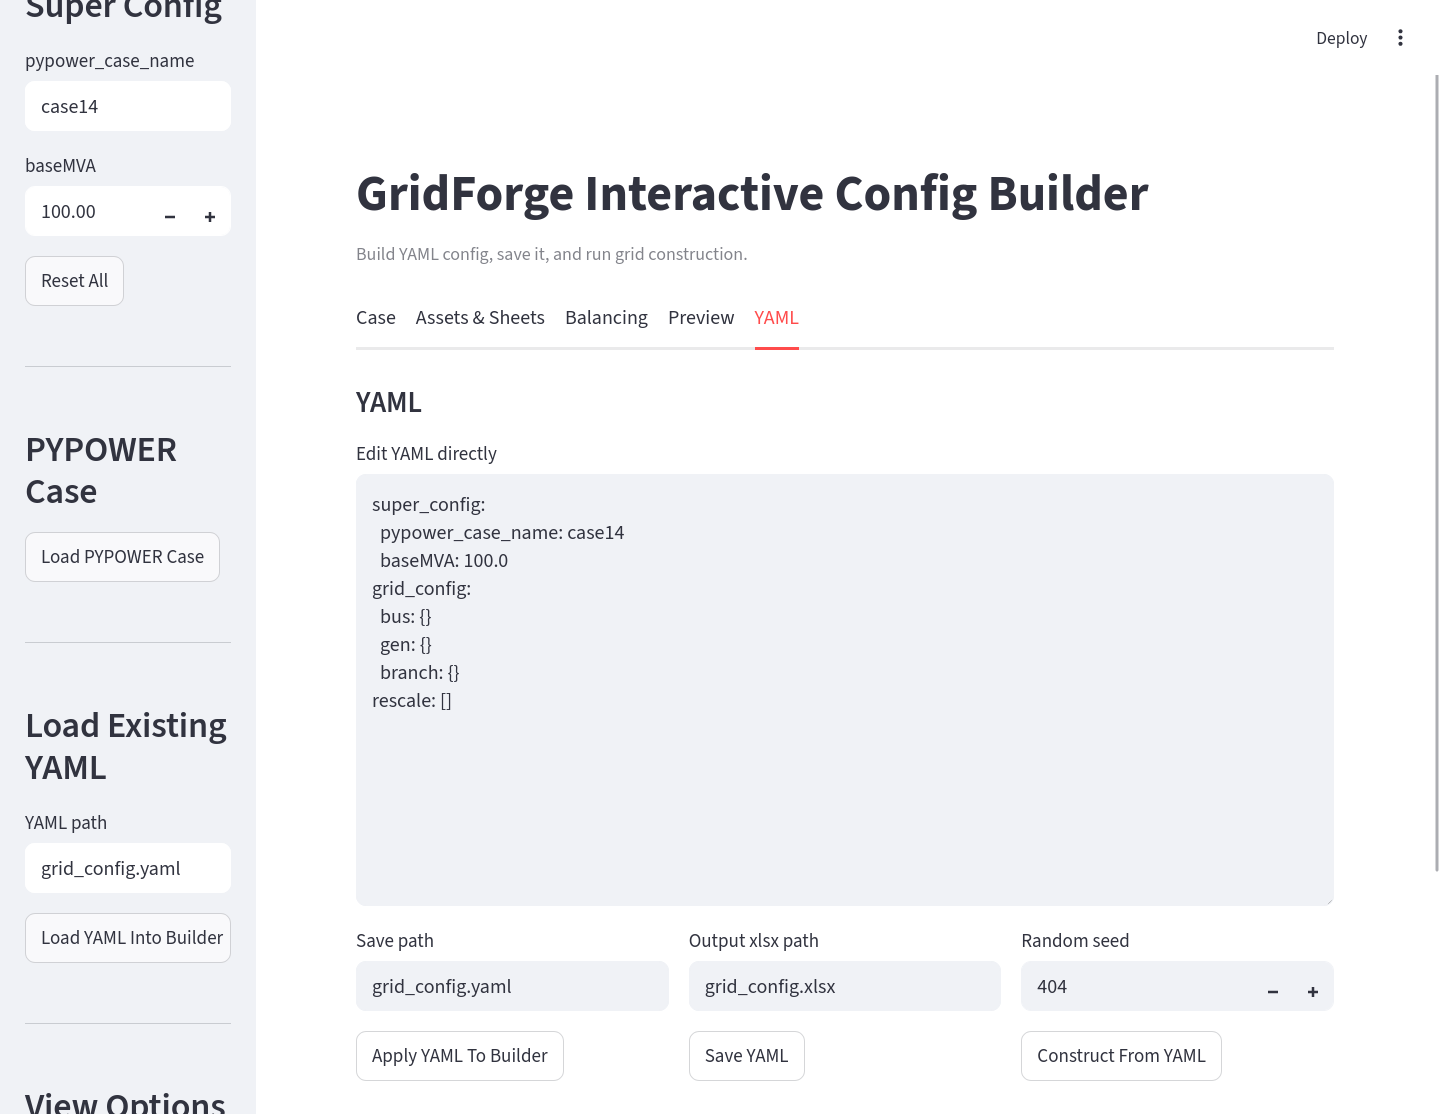
Edit Or Export YAML
The YAML tab exposes the same configuration as editable text. This is useful when you want to copy a setting, make a small manual edit, or save the YAML file as the source of truth for a case.
Where It Fits In The Workflow
Use the app in Stage 1:
Base PYPOWER/MATPOWER case
  -> visual app or hand-written YAML
  -> generated Excel workbook
  -> bus-data assignment
  -> Grid(...) and Data(...)
  -> optimization model
The important boundary is that the app defines static grid structure. It does
not decide which time-series CSV file should be assigned to each bus. That
second step is handled after the workbook exists, because GridForge needs the
generated BUS_IDX values from the workbook before it can materialize
bus-specific CSV files.
Recommended Use
Start with the app when you are exploring a new case or designing custom asset sheets. Once the YAML is stable, keep it as the source of truth and rebuild the Excel workbook from that YAML whenever the grid design changes.